
You do not need to visit a plant nursery or purchase seeds to grow food for your family. A quick search of your refrigerator or pantry may yield the beginnings of a new garden. Many vegetables can be regrown from food you already have on hand. Here are just a few ideas to get you started.
Celery: Celery can be regrown by cutting off at least 2 inches from the bottom. Place the bottom into a shallow bowl of water and place in a sunny spot, changing the water daily. In about 7 to 10 days you should begin to see new leaves beginning to sprout. Once the new leaves emerge you can transfer the celery to pot with soil. Cover most of the celery base with the soil, leaving the leaves just barely poking out.
You can also plant the celery outside after hardening it off the same way that you would with any other vegetables started indoors. In a few months the celery will be ready to harvest. The celery bunch that you get from this process may not turn out to be as big and as full as the celery that it was cut from but it’s free.
Lettuce: Head lettuces, such as romaine, are the best varieties to use when trying to regrow lettuce from scraps. You can also regrow bok choy and cabbage. The method for growing lettuce is identical to the method used for growing celery.
Mint: Mint and other herbs, such as basil and lemon balm, can be regrown from a cutting taken from a larger plant or cut herb bundles from a store. To grow, strip a single stem of the herb of all leaves except for the top two. Place the stem into a cup of warm water, covering at least half the stem. You can have more than one stem per cup.
Place the cuttings in a warm sunny spot and change the water daily. You should see roots beginning to emerge in less than two weeks. At that point you can transplant your herb to soil. If you choose to plant mint outdoors be mindful that it will likely spread and take over any area that it is planted in. It is best to keep it restricted to a pot if you wish to control it.
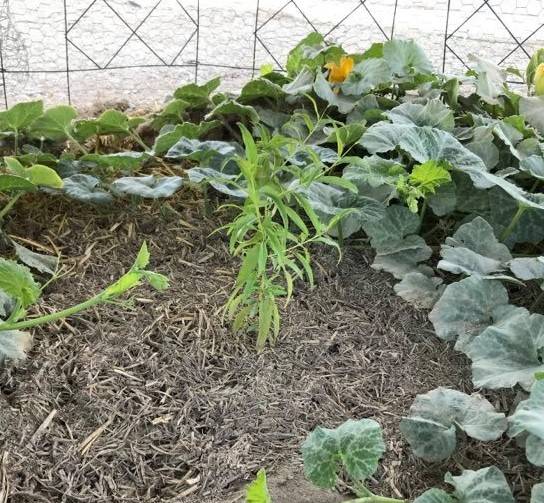
Peaches: Most stone fruit, such as peaches and apricots, can be grown from a discarded pit. It is important to note that the tree you end up with may not give you fruit with the same exact attributes as the fruit it came from. This means that you might end up with peaches that are sweeter or more bitter than the peach that they came from. Either way, you will have a new fruit tree.
To sprout a peach pit, or any stone fruit, place the pit into a plastic zip-top bag with a few scoops of moist seed-starting mix. It is OK to place more than one pit in a bag. Seal the bag and place it in the back of the vegetable drawer in your refrigerator. It will take a few months for your peach pit to sprout. Do not open the bag until then. The bigger the pit, the longer it will take for it to sprout.
Once your peach pit sprouts, you can remove it from the refrigerator and plant it into a pot. I prefer to do this in the winter so that the outdoor temperature is as close as possible to the temperature in the refrigerator. This means starting the peach pit in the refrigerator in late August and moving it outdoors in late January to early February.
For the first few days after transplanting, I keep the new seedling outdoors on my protected patio and covered with a black plastic pot to simulate the conditions in the refrigerator. I slowly acclimate the seedling to light by removing the pot for a few hours each day, gradually lengthening its exposure to sunlight. It is important to keep the soil damp but not wet. Your new seedling should be ready for planting in the ground by mid-March.
Potatoes: Don’t let those forgotten shriveled potatoes at the back of your pantry go to waste. This method works best with organic potatoes as nonorganic potatoes are sprayed with a formula to prevent sprouting. Potatoes are a cool-weather crop and can be planted during late fall or early spring.
Plant the whole potato rather than cutting it up and planting pieces. I know this goes against conventional wisdom, but it will be less prone to disease. Cover the spuds loosely with just a few inches of soil with the eyes facing up. The eyes look like little dents in the potato. Keep the soil moist and you should see growth within a few weeks.
As the green leaves emerge, keep covering with mulch, such as straw, to promote deep-growing potatoes. I have a few raised beds that are waist high and they are my favorite place to grow potatoes in my garden.
Sweet Potatoes: Sweet potatoes love the heat. I usually plant them in the first few weeks of April. They can be planted the same way that potatoes are. Another way that you can plant them is to pick off sprouts growing from the potatoes in your pantry. Place the sprouts into water and change the water daily. You should see roots emerging within a few days. When the weather warms, they can be transitioned outdoors.
Sweet potatoes are one of my absolute favorite vegetables to grow in our climate. Unlike potatoes, sweet potato leaves are edible and can be eaten raw or cooked. Their vines also provide a great living mulch for other vegetables and if left to climb, a chain link fence can provide privacy from neighbors.
Growing food from kitchen scraps is a wonderful way to save money, reduce waste and avoid a trip to the store. To me it’s like turning trash into cash.
Terri Meehan is the Founder of Southern Nevada Gardening Association a regional group. She is a garden mentor and local farmer in Pahrump. Send questions or comments to her at sonvgarden@gmail.com