The standard suggestion for building soil, aka compost, is to mix the right percentage of green organic material to brown organic material; and then turn it often, while making sure to keep the compost moist as you work it. There is no shortage of expensive bins and compost turners to buy to aid in this venture.
This is far too much work to me, and the short amount of time I have in my garden each week is better spent on other things, like sipping my coffee and enjoying the harvest. The method of soil building I use in my own garden is called sheet mulching, which takes hardly any work at all. It can also be thought of as composting in place.
While this method is not the norm in most gardens, it is on the rise. Oregon State University, for example, includes this method in their agriculture curriculum. Books like “Lasagna Gardening” from author Patricia Lanza cover the method in depth.
Three simple steps to sheet mulching
Step 1: Select and prepare a site
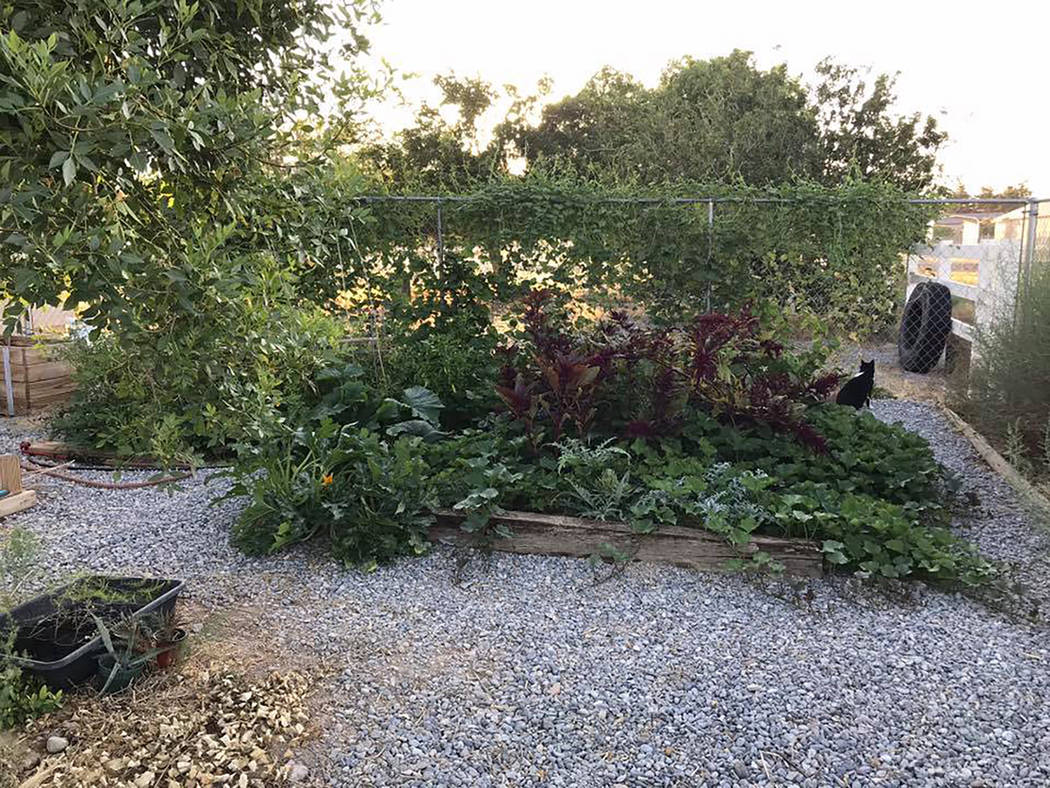
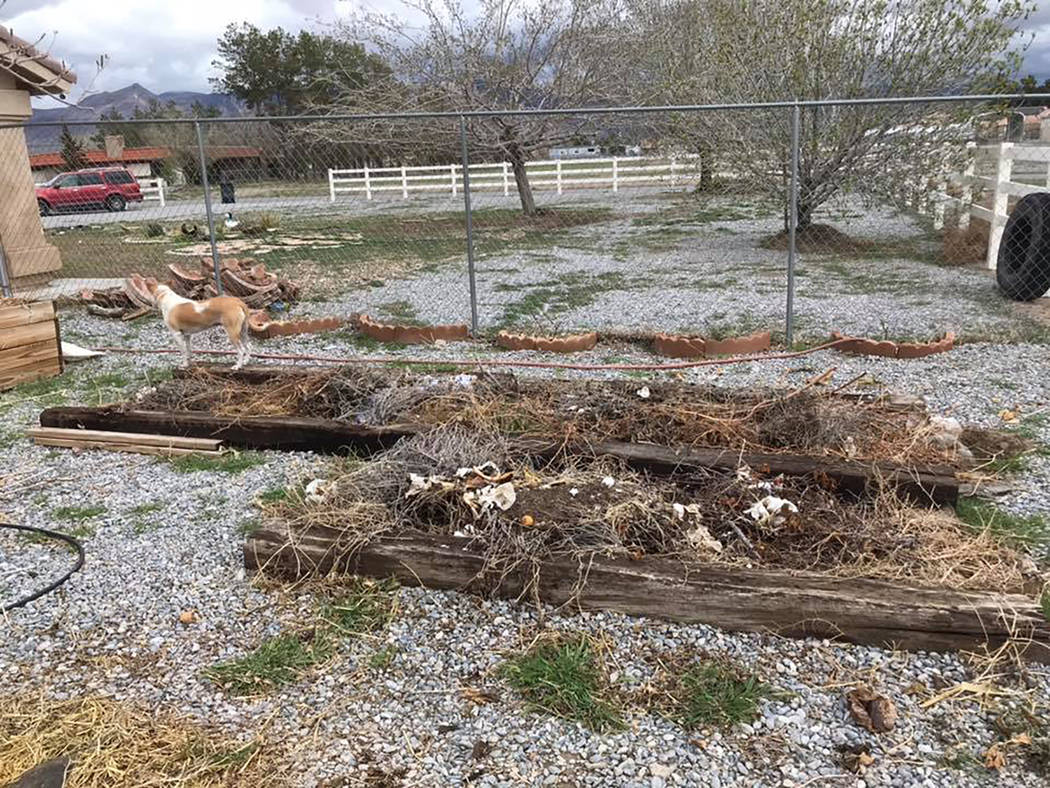
Each year, usually in January, I add a new raised bed to my garden. This is the area where I will be sheet mulching for the entire year. To get started, give the area a border. Some suggestions are untreated lumber, bricks, or my personal favorite, railroad ties.
Your new raised bed can be any length you like but should not be more than 4 feet across. You want to be able to reach into the middle of the bed easily. It need not be very deep; 6 to 12 inches is a deep enough raised bed for most vegetables and flowers.
Rake back the area where the raised bed will be placed. Try to remove any rocks or debris.
There is no need to dig or till the native soil. As the organic matter breaks down in your new raised bed, the native soil will be amended.
Line the raised bed with cardboard or newspaper to create a weed barrier. This will break down over the course of the year and contribute to the health of the soil. When you have your paper layer in place, you want to give it a good soaking.
Step 2: Layer organic matter
The next step is to add organic matter.
Organic matter in this sense is the things that would go into a traditional compost bin: food scraps, used coffee grounds, weeds that have not gone to seed, leaves, branches and twigs, paper products, manure, sawdust, grass clippings, pet and human hair and straw. Avoid meat, dairy and bones.
In conventional composting, these are often separated into green materials, which are rich in nitrogen, and brown materials, which are rich in carbon. A lot of focus lies on the ratio of green to brown, typically. For sheet mulching, the ratio is not all that important.
If you are just starting out, you may not have a lot of material to work with. I started by piling in branch trimmings from trees. I gathered leaves from friends and local parks. As I was pulling weeds, I threw those on the pile, too, if they had not already flowered. This method is not a fast fix but well worth the wait.
One thing that sheet mulching does have in common with traditional composting is the need to keep the pile moist. I find the easiest way to do this is to run drip lines through. When my other raised beds get watered, so does my compost. Covering the pile with a tarp weighed down by bricks will also help.
Step 3: Top with finished compost and plant
Once your new raised bed is brimming over, walk on the pile to compress it. Keep adding material until you can no longer compress the pile. The bed is now ready for finishing and planting.
Top the it all off with 1 to 2 inches of finished compost or purchased soil. It may look a little rough at this point, but the unfinished material will continue to break down over the next few years. It may sink over the season, and you may need to add more finished compost to top it off.
Now is the moment you have been waiting patiently for: It is time to plant.
What you will plant depends on the time of year, but ideally it will be a root crop that can help break up the unfinished organic matter in the bed. Cool season root crops that I like for this purpose are beets and radishes. Warm season root crops that I use are sweet potatoes.
After planting, you should top your soil off with a layer of mulch. I do not suggest using bark nuggets as they will not break down by the next season.
Some suggestions to use instead are leaves, straw or newspaper. Mulch will help hold in moisture and keep your soil from blowing away.
Keeping the soil in top condition
To maintain your soil health, avoid disturbing it as much as possible. Try not to walk on it and resist the urge to till.
Tilling soil destroys the structure and the web of fungal and microbial life that help your plants to thrive. Adding a fresh layer of mulch each year will help your soil remain healthy for years to come.
Terri Meehan is the Founder of the Southern Nevada Gardening Association, a regional group. She is a garden mentor and local farmer in Pahrump. Send questions or comments to her at sonvgarden@gmail.com On Facebook at https://bit.ly/392Lks0