This is an exciting time of year for the vegetable gardener. Seeds started over the next few weeks will be providing you with a bounty in just a few short months. Seed starting is easier than you may think if you follow a few simple steps.
Step 1: Planting the right seeds for the right season
Mid-February for our region is a great time to start both cool season and warm season vegetables and herbs. Cool season vegetables and herbs can be sown directly into the garden and warm season vegetables and herbs can be started either indoors or in a greenhouse.
Cool season vegetables and herbs that you can start now are broccoli, carrots, cilantro, and lettuce and other salad greens, including spinach. I prefer to grow loose leaf lettuce over head lettuce, because loose leaf lettuce can be harvested just a few leaves at a time, rather than having to wait for a whole head to develop.
Other cool season varieties to start now are beets, Brussel sprouts, cabbage, onions, strawberries and my personal favorite, peas. I love to eat fresh peas straight from the vine.
Warm season vegetables and herbs that you can start now are beans, peppers, cucumbers, okra, basil, tomatillos and perhaps everyone’s favorite, tomatoes.
Step 2: Seed starting equipment
Seeds: If you have not already purchased seeds, try asking your friends and family if they have extra. Many gardeners are more than happy to share from their seed stash. Local garden clubs are also a good source of free seeds.
When you are harvesting later in the season, consider saving seeds for the next year and to share with others.
Seed trays: There are a variety of seed trays that you can purchase to get started in seed sowing.
Probably the most common are the black plastic seed trays with a clear plastic lid. Their standard size makes them easy to stack on a shelf and the lid holds in moisture.
You can also use recycled plastic containers such as berry clamshells or milk jugs. The advantage to these is that they are free. Whatever you choose, make sure to poke holes in the bottom for drainage if it is not already done.
Another option, if you would like to go plastic free, is a soil blocker tool. These allow you to stamp out a pot made from a soil mix. They come in various sizes and one of the advantages to using them is the plant will suffer less from transplant shock due to less disturbance of the roots.
Soil: There is special soil that you can buy specifically for seed starting. I highly recommend that route as it is a sterile environment for your seeds. You can also purchase seed starting pellets made of coconut coir or peat. Sometimes they come with the black plastic seed starting tray as part of a kit.
A location to start your seeds: You will need a place to put your seed trays if you are not sowing them directly into the garden. I have had success in the past with starting seeds in a sunny window. I prefer to start seeds outdoors though to make for an easier hardening off.
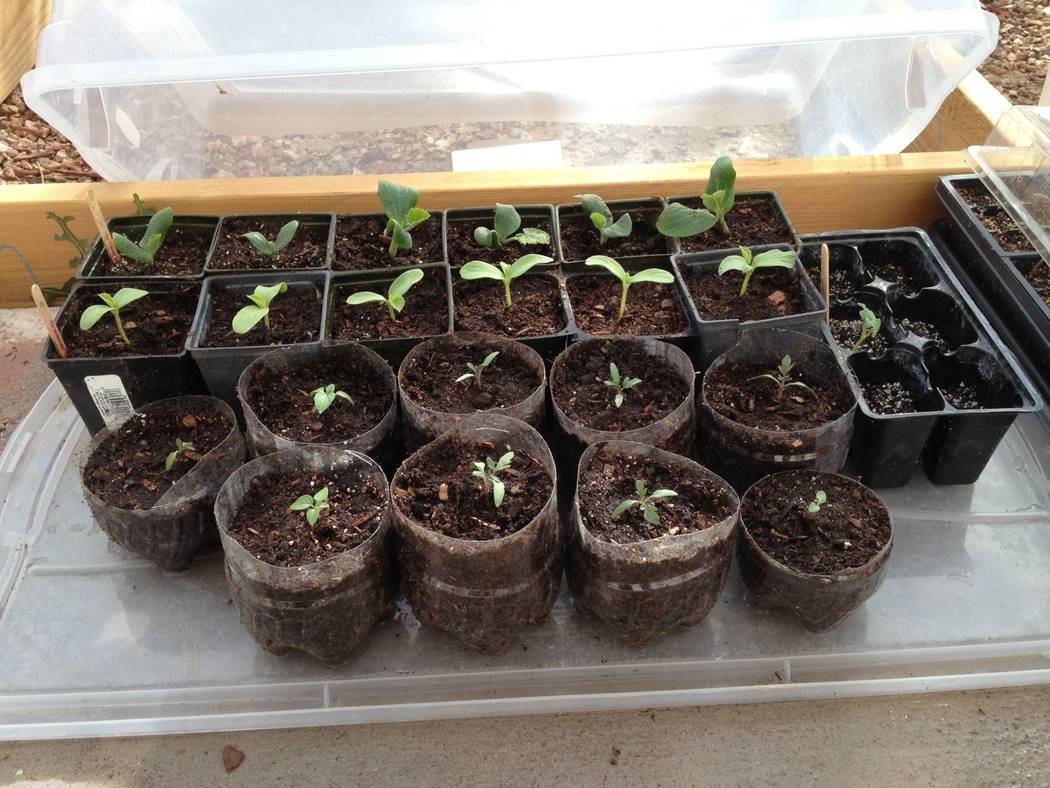
I’ve also used clear and opaque plastic bins, set on the ground, with my seed starting trays placed on the lid and the bin placed over the plants. It functioned as a miniature cold frame. In the warmer part of the day I simply propped the bin open slightly to allow for airflow.
Step 3: Plant your seeds
Once you have decided what you will be planting and gathered your seed starting equipment, get to work planting. I would plant at least 1-2 more of each variety than you think you will need as they might not all survive.
If you are sowing directly into your garden, follow the spacing on your seed packet. Water your soil lightly before and after planting. Keep the soil moist and cover with a light layer of mulch after the seedlings emerge. You may also find it helpful to use plant markers to remember what you have planted. Seedlings can look very similar to each other in the beginning.
If you are starting in seed trays, moisten your seed starting mix before filling the seed trays. Lightly press the seed starting mix into the trays and pop 2-3 seeds into each cell. If all seeds germinate, they can be thinned later. At this point I like to spritz the soil mix with a spray bottle to moisten it without overwatering.
Place the cover on your seed tray and keep the lid closed until the seedlings emerge. Only open the lid to water as needed. One nice thing about the commercial seed trays is that they sit in a tub which allows them to be watered from below. Once the seedlings emerge the cover should be propped open slightly to allow for air flow around the plants.
Your newly started seedlings will need daily tending over the next few weeks. They should be ready to transplant to your garden in early to mid-April.
The last frost date for our region is April 1st. For seeds that you have directly sown in the garden, keep a close eye on the weather report. If the nighttime temps will fall below 32 degrees, then consider covering your seedlings with a light cover. I use old bedsheets or burlap.
Next week, I will cover the next step in the process, hardening off and transplanting your seedlings to the garden.
Terri Meehan is the Founder of Southern Nevada Gardening Association, a regional group. She is a garden mentor and local farmer in Pahrump. Send questions or comments to her at sonvgarden@gmail.com