Few things are as excruciating as excitedly watching seeds germinate and grow only to have them die upon transplanting the seedling to your garden.
Fortunately, by following a few easy steps, you can ensure a successful transplanting process.
Timing: Most warm season vegetables can be transplanted starting the first week in April. If you planted in mid to early February, your seedlings will be about two months old.
Hardening-off: Hardening-off is a gardening term for slowly acclimating your seedlings to their new environment. It is very important; do not skip hardening-off. This process can take one to two weeks. Avoid starting the process on a day with extreme or windy weather.
On the first day, set your seedlings outdoors in the area you will be growing them for just one to two hours. The best time of day to do this is in the morning. Each day, gradually lengthen the amount of time your seedlings are outside.
Keep an eye out for warmer, or cooler, than usual weather in case you need to bring them back in. Give your seedlings a good watering, and ensure that they stay moist each day.
Prepare your beds: If your beds are not already prepared for planting, then you should prepare them during the hardening-off process. You need to give the soil time to settle before transplanting your seedlings.
Start watering your beds on the same schedule that you will be using once your seedlings are planted out. This is also a good time to top off your beds with a mulch cover. Keep an eye out for weeds, and pull them when you see them.
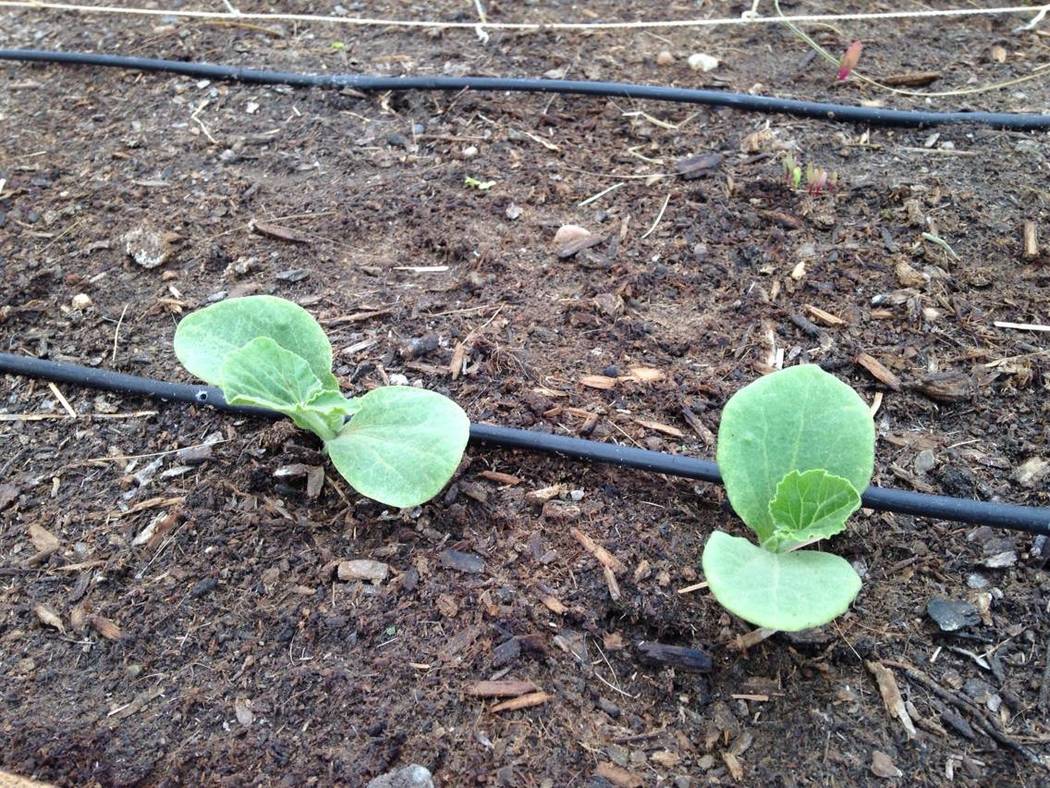
Seedlings: Seedlings can be transplanted once they have their first set of true leaves. The true leaves are actually a second set of leaves that appear on the plant and are bigger and darker than the initial set of leaves (cotyledons). This will allow the seedling enough time to have formed at least 2 inches of roots.
If you are purchasing seedlings from a nursery, choose seedlings that have consistent leaf coloring throughout and do not appear to be long and lanky. Biggest is not always best when it comes to choosing seedlings. Plants with long skinny stems most likely did not receive enough light during their early stages of growth.
The big day: After your seedlings have become acclimated to the conditions outdoors, it is time to transplant them. It is best to do this on an overcast day or in the late afternoon. Give your garden beds and your seedlings a good watering before you get started.
Lay your seedling pots out in the areas you want to plant them. It is easier to adjust your plan while your seedlings are still in their pots. If you have more than one seedling per pot, choose the strongest one and snip the rest.
You may have more seedlings than you have room for, but do not be tempted to plant them with tighter spacing than is recommended. Extra seedlings can be planted in pots or given away to a lucky friend. It is good to have a few extras on hand should one of your seedlings not survive the transplanting process.
For each seedling, dig a hole about the same depth as the seedling’s pot, plus an additional 1 to 2 inches in circumference.
Place the pot into the planting hole to check the depth. At this point, I like to scoop a cup of worm casings into each planting hole before my plant. Worm casings are basically worm manure. You can make worm casings by feeding food scraps to worms in a worm bin, and there are several shops in Pahrump where you can buy them.
Lay your seed pot on its side, and gently ease your seedling out. The roots should be somewhat loose but able to hold the soil around them. If the roots are tight or wrapped around each other, gently loosen them with your fingers. Place your seedling into the planting hole, and backfill the surrounding soil around the stem. Do not bury your stem above the leaves.
Give your seedlings another good watering, and gently pack the soil down.
If you have mulch in your bed, leave a ring of at least 6 inches around your seedling.
Over the next several days, keep your seedlings watered to the point of moist but not soaking wet. You may also want to provide shade if the days become unseasonably warm. An old sheet hung on the west side of your transplants will work well for this.
Transplant shock: If despite your best efforts your newly transplanted seedlings begin to show signs of stress, do not panic. First, check the soil to be sure it is moist. Often the seedling just needs a drink. Provide the plant with morning sun and shade until it recovers. If leaves yellow or die, go ahead and cut them off. They no longer serve any purpose for your seedling.
By following the steps outlined in this column, I have no doubt that you will have success with transplanting seedlings to your garden and a bountiful harvest in just a few months time.
Terri Meehan is the Founder of Southern Nevada Gardening Association a regional group. She is a garden mentor and local farmer in Pahrump. Send questions or comments to her at sonvgarden@gmail.com