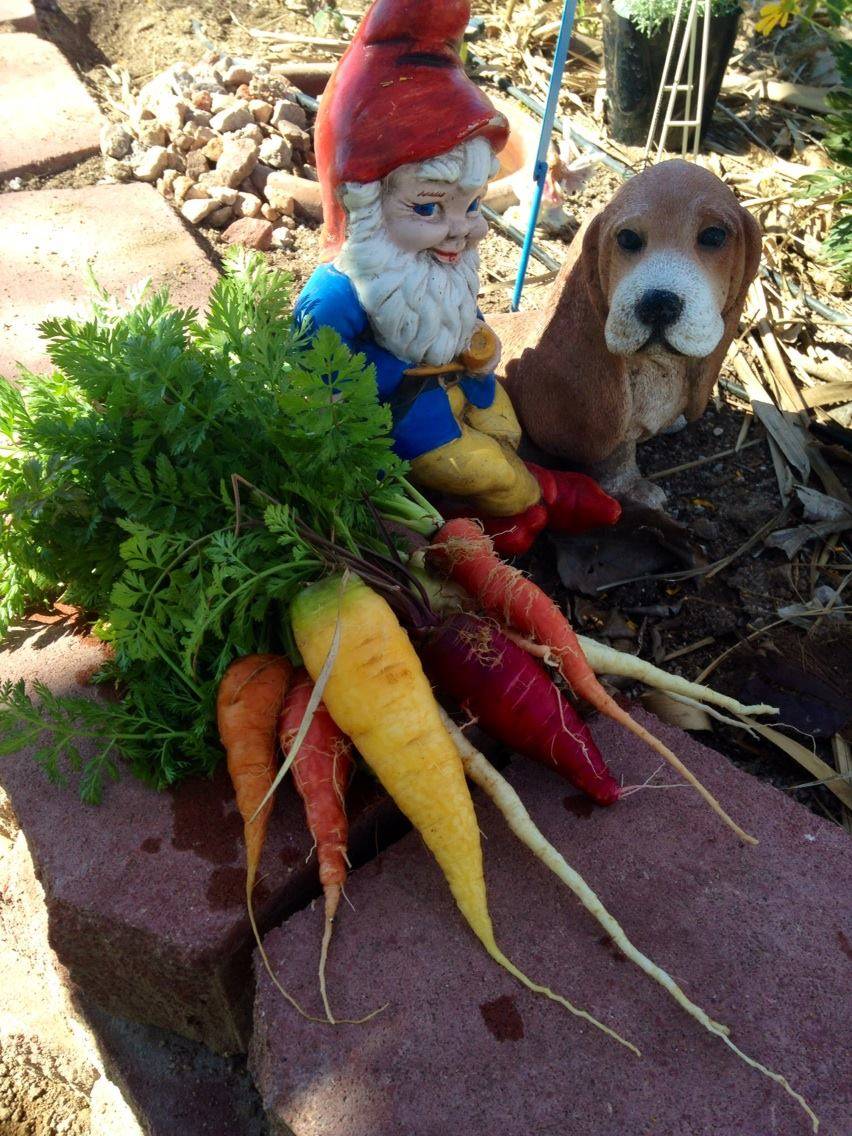
IN SEASON: Carrots, a kaleidoscope of colors, sizes and shapes
Carrots are a pretty inexpensive vegetable to buy at the grocery store, and for this reason many gardeners do not grow them. I like to grow them because they come in beautiful varieties and can fit easily between other vegetables in the garden. That space would not be used otherwise so I like to make good use of it.
Planting carrots
There is a multitude of carrot varieties available in a rainbow of colors from purple, yellow, and white to your classic orange. Another factor when it comes to choosing a variety to plant is shape. Some varieties meant for heavy soil grow short and blocky while others meant for loose soft soil grow long and slender. Read the seed description carefully when ordering to determine which type of carrot it is.
Carrots should be directly sown into the garden in fall or early winter. They will not perform well if the root is disturbed after planting. The soil should be loose and easy to work. When preparing the soil remove any pebbles or stones that you run into. Growing carrots in a raised bed will give you more control over the conditions and yield the best results. Alternatively, they can be grown in pots as well.
Plant a pinch of seeds at least 3 inches apart by gently sprinkling the seeds in a straight line over the soil. Barely covering the seeds with soil, just enough so that you can no longer see them. Buying or preparing seed tape will make planting the tiny carrot seeds a breeze. For a continued harvest throughout the winter and spring, plant carrots every 2 to 3 weeks.
After planting, lightly mist the soil until it is evenly moist to the touch. Keep the soil moist throughout the growing season. You should begin to see the carrot seedlings emerge in 2 to 3 weeks. If pests or birds are a problem in your garden, protect the seeds and seedlings with bird netting.
If a freeze is expected, cover your carrots with an old sheet or blanket. If you forget and the carrots suffer through a light freeze then take heart in knowing that carrots that have been through a freeze are often sweeter than those that do not.
Some common carrot problems that you may run into include carrots becoming misshapen if they run into a branch or small stone when growing. A similar problem occurs when carrots are planted too close together. In our growing zone aphids can be an issue from time to time but they are easy to control with daily monitoring. Rabbits or other rodents may eat the tops, but I find that they usually grow back. For the most part, carrots are a low-maintenance crop once they are established.
Harvesting carrots
You can harvest carrots at nearly any stage after they begin growing. Carrots that are harvested while small are tender and sweet and do not need peeling. With a quick slicing they add spectacular flavor to a salad. The more time you allow the carrots to grow, the larger they will become. Once you begin to see the carrot poking up from the soil either harvest or cover with a light mulch such as leaves or straw. Carrots exposed above the soil often turn green and bitter.
When left to grow for too long carrots will eventually begin to flower and seed. It is best to pick them before this occurs as the flavor and texture change once the plant begins to put energy into seed production.
If a carrot does begin to flower, consider letting it continue and then collect the seeds for future production. When you harvest and plant seeds that you have collected, over time you end up with new varieties of vegetables that become ever hardier to our climate and conditions.
Seed collection is yet another reason to grow carrots even if they are inexpensive at the store. Imagine one day a new variety of carrot named after you. Hmmm, Meehan Purple ‘N Sweet carrot. I kind of like the sound of that!
Terri Meehan is the founder of Southern Nevada Gardening Association, a regional group. She is a garden mentor and local farmer in Pahrump. Send questions or comments to her at sonvgarden@gmail.com
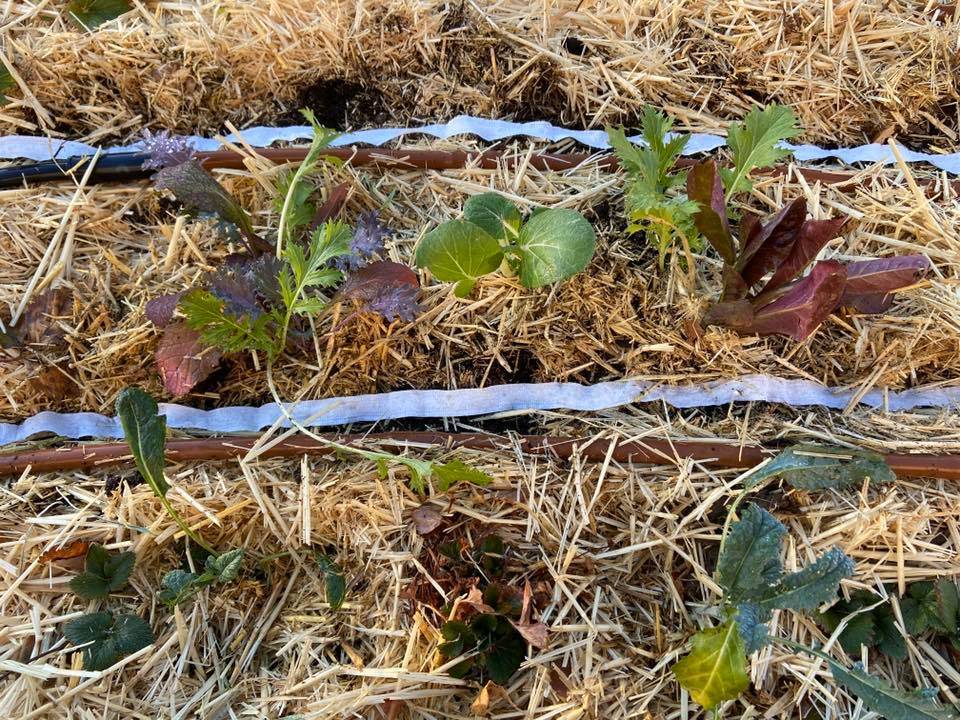
Make seed tape to simplify planting small seeds
Tiny seeds like carrots and poppies can be a bother to plant. There are many tools on the market that make this task easier including seed dispensers and seed tape. Tools like these can be expensive and at the end of the day are unnecessary.
Seed tape is simple and quick to make. It serves two purposes. First, it makes planting minute seeds much easier. Second, it helps keep pests from digging up seeds.
To make seed tape you will need flour, water, seeds, a marker and a roll of One-Ply toilet paper. This is not the time to use premium cushioned Three-Ply toilet paper. Look for the least expensive thinnest toilet paper you can find. It should be able to dissolve easily in water.
To make the seed tape, first mix 4 tablespoons of water with 2 tablespoons of water to make a flour paste. Roll out the toilet paper to your desired length. I like to create my seed tape in 1-foot lengths to make for an easy transfer to the garden. Fold the toilet paper in half along the narrow edge, pressing tightly to achieve a nice crease.
Unfold the toilet paper and use the marker to make dots at the spacing that you would like to plant your seeds. Carrots for example, should be spaced 3 inches apart. Next, spoon a drop or two of the flour paste onto the toilet paper where you made a dot with the marker.
Drop a few seeds into the flour paste. Continue this process until you reach the end of the length of the toilet paper and then press the top half firmly over the bottom half. Run your hand along the toilet paper to secure the two halves together.
Let the seed tape dry for 24 hours and then roll it up for storage or plant it directly into the garden. It can be stored for several months in a cool dry location. Seed tape is a great project to work on in the winter when there is not much going on in the garden and can save your back a few hours of being hunched over a garden bed.


