IN SEASON: Part II: Seed saving made simple for home gardeners
Note: This is Part 2 of a three-part series
Last week I covered the basics of seed saving and how to get started. I covered the differences between self-pollinating crops and open-pollinated crops. When it comes to growing vegetables for seed, the method for seed saving between the two types of crops follows a different path. This week we will dive a little deeper and discuss how to save seeds from two different self-pollinating crops, beans, and tomatoes.
Bean seeds
Beans are perhaps the easiest seeds to collect and can often happen by accident. You may miss a bean or two when harvesting a bowl for dinner and find it several weeks later dried out and tough. This is exactly what you want for seed saving.
Allow the pod to finish drying out on the vine until it is shriveled and brown. This could take several weeks depending on the weather, but you want to collect them before they have a chance to get wet. Gently split the pods open and slip the seeds into an envelope or small paper bag for storage. I do not recommend storing seeds in plastic food storage bags.
Avoid washing the bean seeds or getting them wet. Bean seeds that are exposed to moisture may sprout or mold. Dry seeds should be stored in a temperature-controlled, dry environment. They can be stored in the refrigerator but will remain viable for several years even when stored at room temperature. Bean seeds are not very fussy and store better than the other crop on our list, tomatoes.
Tomato seeds
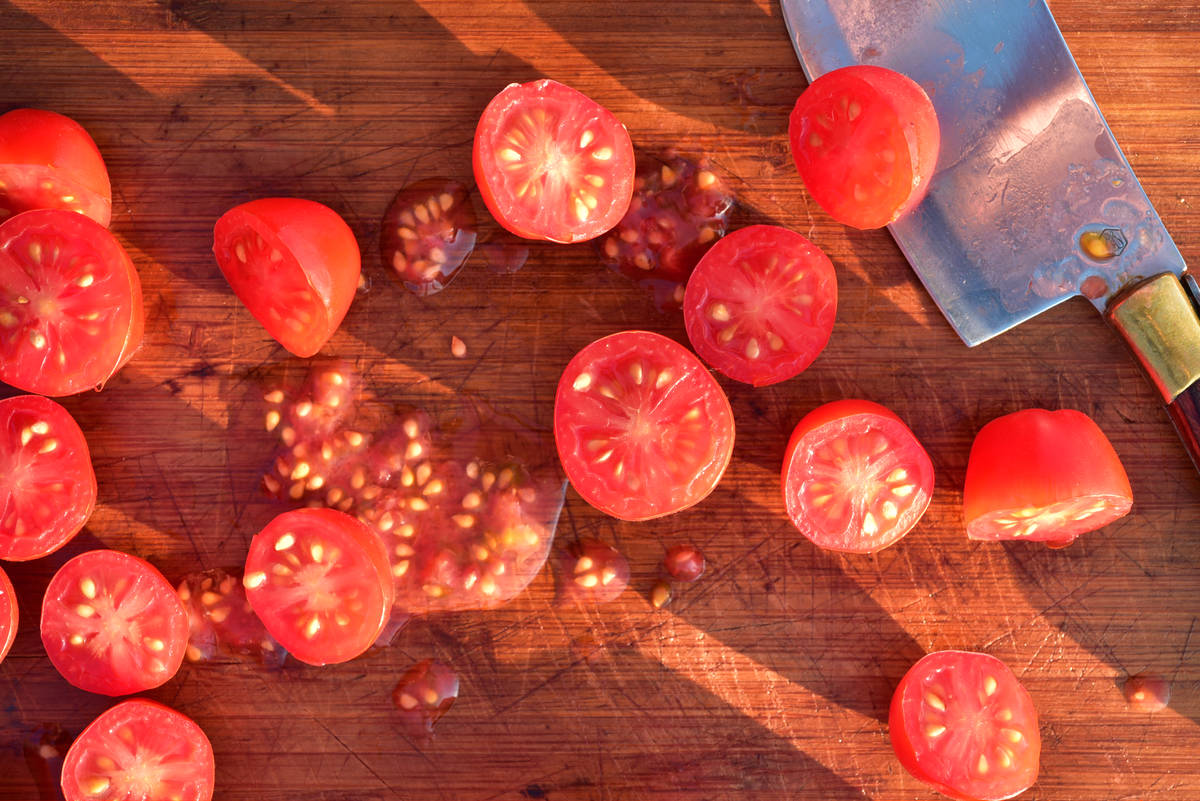
There are many more steps to collecting tomato seeds than crops like beans. When selecting tomatoes to save seeds from, choose your best tasting and most hardy specimens. The tomato should be fully ripe when you pick it. Tomato seeds should go through a process of fermentation to increase germination rates and decrease disease potential.
You only want to undertake this process with one variety at a time as you will not be able to tell different seeds of different varieties apart. Clean the tomato and then split the tomato open. Scoop the seeds, pulp, and juice into a clean container. Give the mixture a stir and place a lid on the container. Label the container and store it in a dark place at room temperature, for example your pantry.
Stir the pulp mixture daily for three days. You will start to see a cloudy film form and the gel around the seeds pull away from them. After 3 days, pour the seeds into a larger clean container that will allow you to add triple the volume of water. Pour the water over the seed/pulp mixture and give it a stir with your hands or a wooden spoon. Avoid using a metal spoon.
Let the seed rinse sit for about 10 minutes during which time viable seeds will sink to the bottom. After 10 minutes pour off all but the seeds at the bottom of the container. Repeat this process 2 or 3 times until the seeds are clean.
It is helpful to use a window screen for the next step and they can be purchased inexpensively from local stores. You might also choose to complete this step outdoors on a non-windy day. Place the screen on a table or an improvised stand. I use bricks placed at each corner to set the screen on. This allows for air flow under the screen. Spread your cleaned seeds across the window screen and rinse away any remaining gel or debris from the seeds with a gentle blast from your garden hose.
Once your seeds are clean, spread the seeds around the screen so that most of the seeds are not touching. This will help them to dry more quickly. Cover the screen with a light cover such as an old bed sheet or row cover material and weigh the cover down on the edges. I use small rocks for this. Covering the seeds will keep birds and other pests from eating them while they dry.
Depending on the weather, your seeds should be dry in 1 to 2 days. Once your seeds are dry, gently sweep them from the screen breaking apart any clumps that have formed. Pour them into a paper envelope or bag and store in a dark dry place or the refrigerator. Do not freeze your seeds, this will decrease their chance of germination. Properly stored tomato seeds are viable for an average of 4 years with germination rates decreasing every year.
By following the steps outlined above you can greatly increase your success rates with seed saving for the maximum viability. There is another type of crop though that is a bit trickier to save seeds from. Join me next week for the last part in this series where I will discuss how to save seeds from open-pollinated crops.
Terri Meehan is the founder of Southern Nevada Gardening Association, a regional group. She is a garden mentor and local farmer in Pahrump. Send questions or comments to her at sonvgarden@gmail.com


