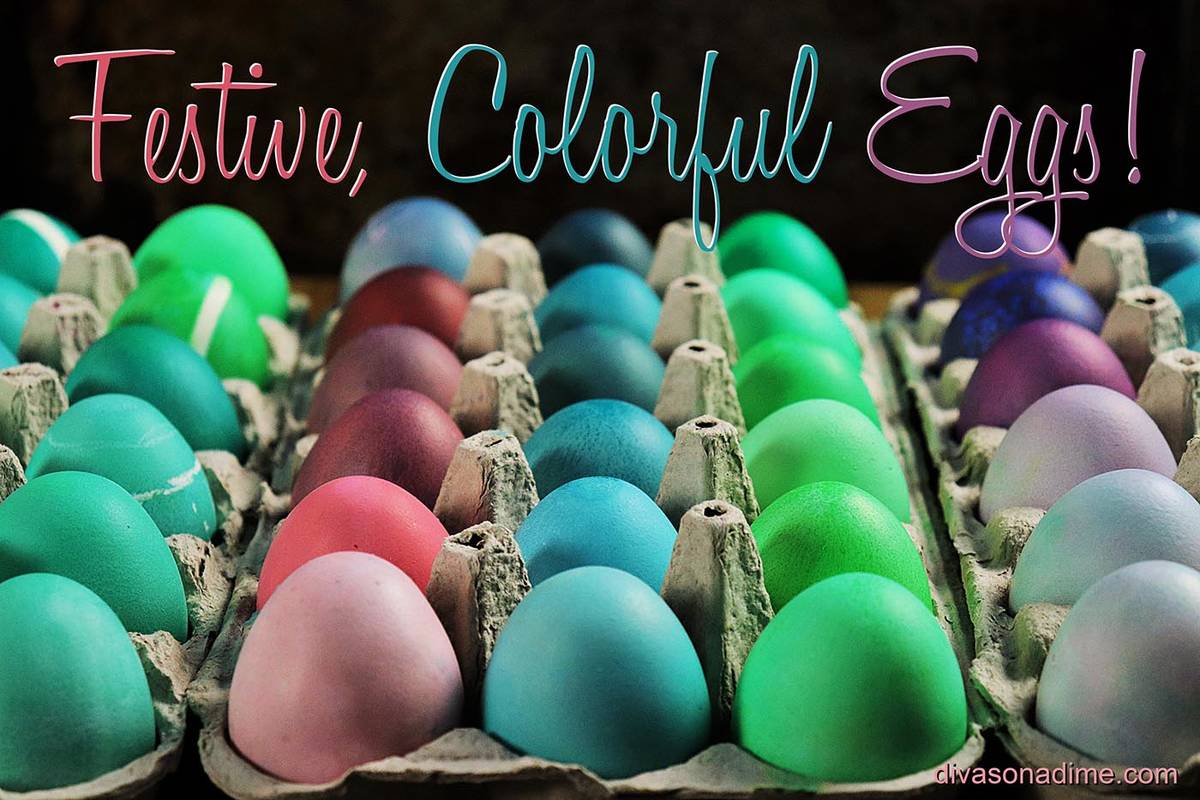
DIVAS ON A DIME: Egg-cellent ideas for coloring Easter eggs
Hippity hoppin’, Easter’s on its way! So, what do we do with some extra time on our hands and lots of kiddies at home? Let’s make the most awesome colored eggs ever! Does the smell of vinegar remind you of coloring eggs as a kid? Or is that just me? But I digress. Naturally, for this project you will need hard-boiled eggs.
Here’s how to make perfect hard-boiled eggs:
Carefully place your eggs in one layer on the bottom of an appropriately sized pan. Cover the eggs with enough cool water to be one to two inches above the eggs. Place saucepan over medium-high heat and bring to a boil.
As soon as the pan comes to a boil, remove from heat and cover with a lid. Let eggs sit in the hot water for 12 minutes for hard-boiled eggs. This allows the eggs to gently cook, minimizes cracking and produces tender, not rubbery eggs. After 12 minutes, drain and cool completely under cold running water or in a bowl of ice water. Keep refrigerated until ready to color.
There are lots of foods that can be used to color eggs; items like beets, onion skins and purple cabbage to name a few. While it’s a fun project and a great way to incorporate a science lesson for the kiddies, it’s not cost effective. Egg dye kits are cheaper, especially when you buy them after Easter and save them for the following year. Liquid food coloring is also much less expensive, fast and effective, and you can use the remaining color for other projects.
Here’s how to color eggs with liquid food coloring - In a small glass bowl or ceramic cup (not plastic unless you want it permanently colored!) combine 1 teaspoon white vinegar with ¼ to ½ teaspoon food coloring and add ½ cup hot water. Repeat for each color desired. Stir well and dip your eggs.
This is a messy job so protect your work surface with plastic or paper and wear clothing you don’t mind getting permanently colored.
Here are some ideas to kick your egg coloring skills up a notch.
Crayon resist eggs: Use white or light-colored crayons to draw on the eggs before dipping them. Draw pictures, write their names, or do simple line and dot designs.
Rubber band eggs: Wrap your hard-cooked eggs with rubber bands before dropping into the dye. When they reach the desired color, remove from the dye and let dry before removing rubber bands. For added interest, eggs can be dipped again after some or all the rubber bands have been removed.
Make works of art: Using non-toxic white glue (Like Elmer’s) add some sparkle to your colored eggs once they are dry by adding beads, sequins or ribbon or for the ultimate in messy fun: glitter! Just be careful when you eat the eggs.
Sponge stamping: Mix double strength color or use pure food coloring. Cut up a cello sponge into pieces and dip into the color and dab the color on the eggs. Stick with one color or use multiple colors, letting each color dry in between.
Painted eggs: Mix double strength color and use new paint brushes to let the children paint on their eggs.
Russian Roulette: Add a few raw eggs among the hard-boiled eggs. Just kidding, don’t really do this. Unless you’re my teenage son. In which case you probably already have.
This is so much fun, we shouldn’t save coloring eggs just for Easter. Anytime we hard-boil eggs should be a festive occasion. Don’t forget to take pictures for the quarantine scrapbook! Happy Easter, my friends!
Lifestyle expert Patti Diamond is the recipe developer and food writer of the website “Divas On A Dime – Where Frugal, Meets Fabulous!” Visit Patti at www.divasonadime.com and join the conversation on Facebook at DivasOnADimeDotCom. Email Patti at divapatti@divasonadime.com


